Photoshop Makeup with Soft Light
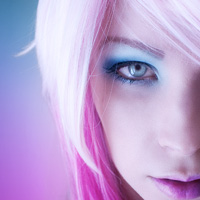 The Soft Light layer mode is an extremely versatile blending option that has a tonne of uses. Soft Light works in a similar fashion to Overlay, however the results produced are a little more subtle – allowing background details to come through and not get ‘washed out’. Aside from it’s useage for applying colour-casts, Soft Light can also be employed to boost existing colour saturation. Enough exposition – let’s see it in action!
Digital Makeup
Soft Light darkens or lightens colours, depending on the blend colour used. The benefits of using this mode is that the outcome can be more refined than using harder blend modes or adjustments – retaining details of skin pores and some colour information.
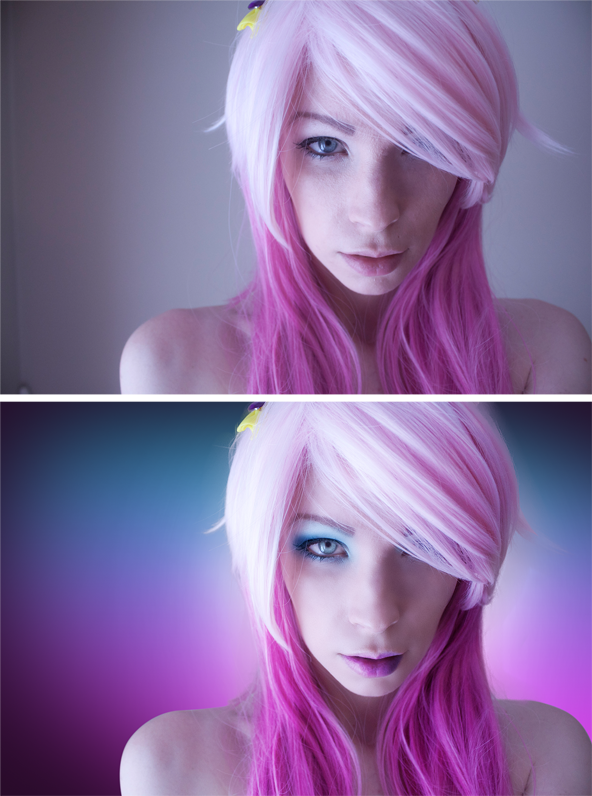
Stock Image by LadyStarDustxx (DeviantArt)
Basic Retouch
Before commencing your digital makeup, it’s worth doing a little clean-up on your stock image. I used the techniques outlined in the Basic Retouch Tutorial to even the skin tone and accentuate the eyes a little.
Eye Shadow
As this is a vibrant piece, rich shades of blue, purple and pink will be used for the makeup. This technique can also be used for more sultry tones such as greys, browns and yellows as well – with the intensity controlled by the opacity and / or the shade of colour used.
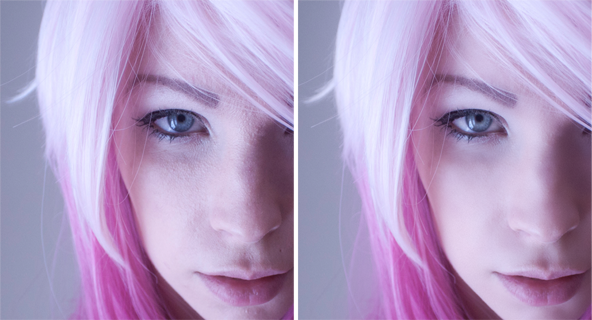
Create a new layer above your source image (Shift, Ctrl/Cmd + N), and set the layer mode to Soft Light via the dropdown at the top left of the layers palette. Choose a colour and paint in the eye shadow using a Soft-Edged Brush (B), you can use a large Soft-Edged Eraser (E) to taper in and control where the shadow is applied. Tones darker than 50% grey will darken, tones lighter than 50% grey will lighten. By using multiple layers, controlling the opacity and using varying shades you can build up the effect incrementally.
Here is the build up of the effect, showing the colour used and layer opacity:

The same process was used to increase the vibrancy of the iris – a new layer was created above the stock image, a very light blue was painted on and the opacity reduced to 50%.
Lip Colour
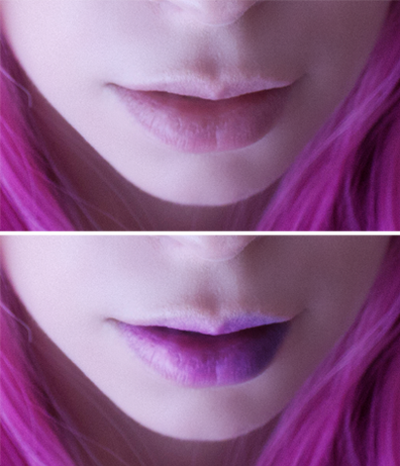
Applying faux lipstick is one of the trickier aspects of digital makeup techniques, because of the glossy highlights usually involved. One method to keep these details intact, is to use a Curves Adjustment Layer to control the colour.
Create a new Curves Adjustment Layer (black and white circle icon, bottom of layers palette), and use the seperate R, G and B channels to manipulate the lip colour to your liking. When working with the Adjustment Layer, it will apply the effect to the entire image. To selectively apply the lip colour, fill the attached Layer Mask with black and then paint in the effect using a white Soft-Edged Brush (B).
For more info on this technique, check out our Adjustment Layers tutorial.
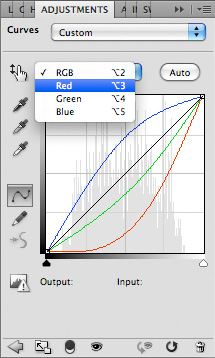
Using Curves to manipulate colours is useful, because it works with the existing tones and maintains more highlight details than most other methods. As ever experiment with whatever works, with the aim to keep the highlights intact. The Curves Adjustment Layer in this instance is set to Soft Light layer mode, at 60% opacity.
Hair Colour Boost
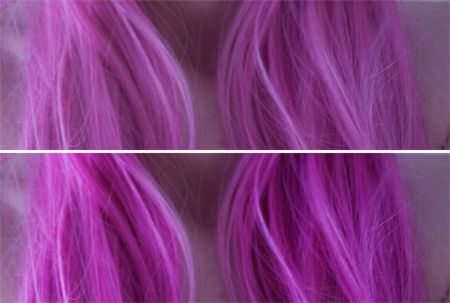
This process is extremely simple, and can be used in any instance where you would like a boost in richness and saturation. To enhance the colour of the model’s hair (particularly if it is dyed, like the example), duplicate the stock image layer (Ctrl/Cmd + J) and set it to Soft Light. Again, you selectively apply the effect by using a Layer Mask (Add Layer Mask, invert to black, paint in effect selectively using a Soft-Edged Brush).
Finishing Touches
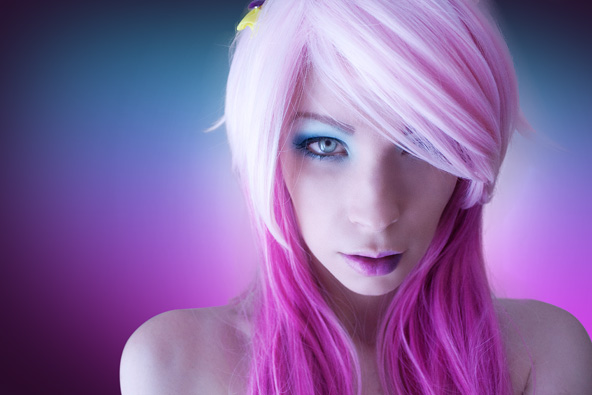
To add a little flair to the example piece, I used compositing techniques to add a new background. Check out the Pen Tool Background Removal and Compositing Hair tutorials for more info. You can always apply an Unsharp Mask (Filter > Sharpen > Unsharp Mask) to the merged final to bring out the details of your final piece.
Review
There’s a lot of uses for Soft Light, with this walkthrough covering just a few of it’s applications.. Try using Soft Light layers to infuse rich hues into scenery or transitional colours for any type of object. Got your own Soft Light experiments to share? Please feel free to mention in the comments section below.
Conzz ![]()
Follow on Twitter >> @Conzpiracy
[...] For More Details [...]