Find Us On:
Digital Collage Photoshop Tutorial
 In this walkthrough we’ll be experimenting with a mixed media aesthetic, using vintage scans and various textures to create a Digital Collage in Photoshop. The style is just one step away from Photomanipulation, focusing less on processing and moreso on rough compositing technique. By using aged resources, you can achieve a beautifully archaic look with this approach.
The Example Piece
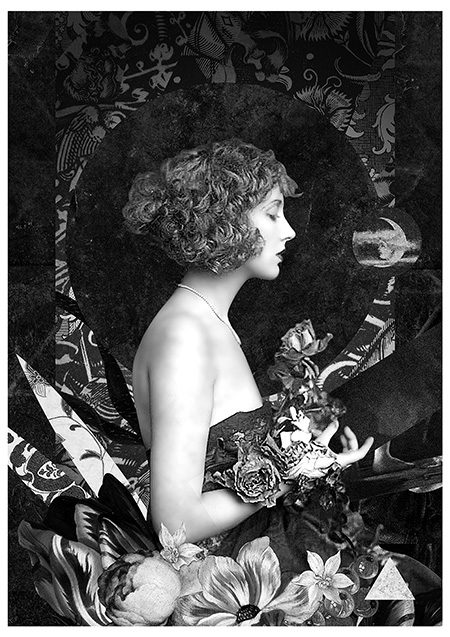
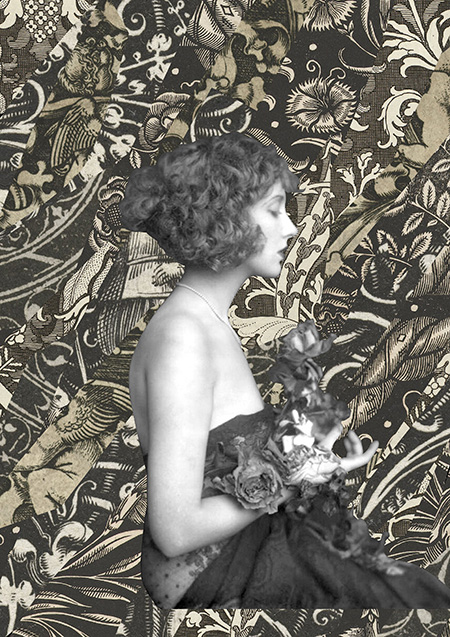
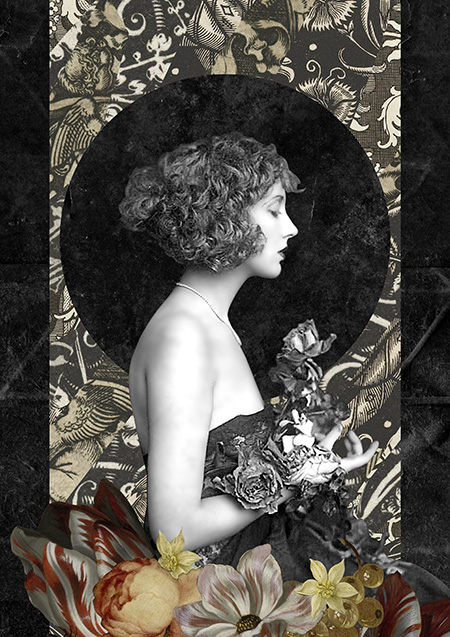
As a fan of Gothic / Baroque elegance, my own piece has taken on a darker look. Don’t let this sway the direction of your own project however, the possibilities for this style are limitless. The composite is created using cut elements from a number of vintage images and textures, and positioned accordingly:
Mood Board
I very rarely work in a mixed media style, so I put together a moodboard of inspirational images, to help generate ideas. You can use this board as a point of reference, or preferably make a new one of your own. Please note, this board is for reference only, and should not be used as stock. Click the image for fullsize!!

You’ll notice lots of rich hues and pastel shades in the reference works above. The imagery uses a range of photographic elements, fine art portraits, patterns, brush strokes, you name it.. if it looks kool, bung it in ![]()
Gathering Stocks
First and foremost – if you have access to a scanner and lots of old books / magazines, definitely bring in your own resources to add a personal touch. If you don’t, not to worry, there’s plenty out there now for doing this kind of work.
DeviantArt Stock Browser: The ‘Classical & Vintage’ sub-gallery in the DA stock browser is a great place to start. Here you’ll find lots of vintage figurative shots from the early 20th century, as well as plenty of scans and miscellaneous objects.
Rijksmuseum Public Use Gallery: The Rijksmuseum have done a great job digitizing their collection – they’re now offering full resolution downloads of the images, and are actively encouraging the public to use and interact with the images. With over 300,000 photos in the collection (and growing), it’s an amazing resource.
The British Library: This great institution has uploaded a whopping 1 MILLION high res book scans to Flickr Commons for anyone to use, remix and repurpose. Phenomenal. In this collection you will find a multitude of illustrations and photographs. Tip: you can search their gallery by selecting ‘The British Library’s Photostream, in the search bar at the top right.
Getting Started
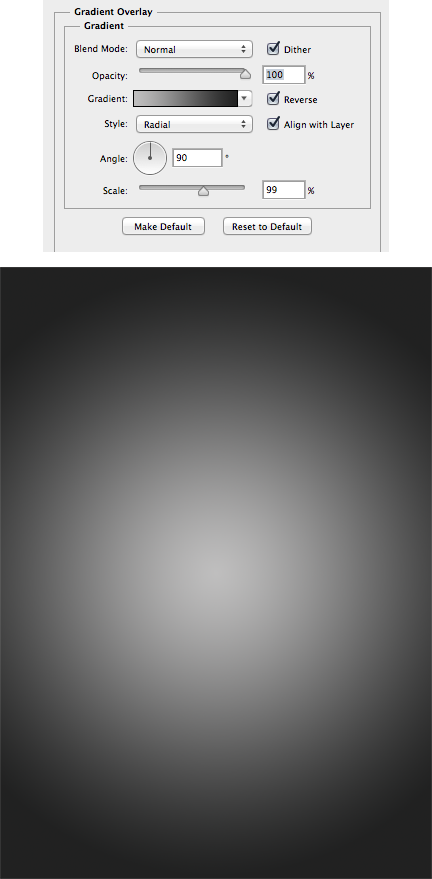
I hate starting with a plain white background, so I added a dark grey radial gradient to the background. To create a radial gradient, add a new layer (Shift, Cmd/Ctrl + N), right-click the layer and select ‘Blending Options’. Tick the Gradient Overlay checkbox, and use the values shown below. You can edit the gradient colours by double clicking the gradient icon on the dialog:
Collage Base Layer
You’ll notice from the mood board, that the collages tend to have a ‘base layer’, chopped elements that serve as the composite background.
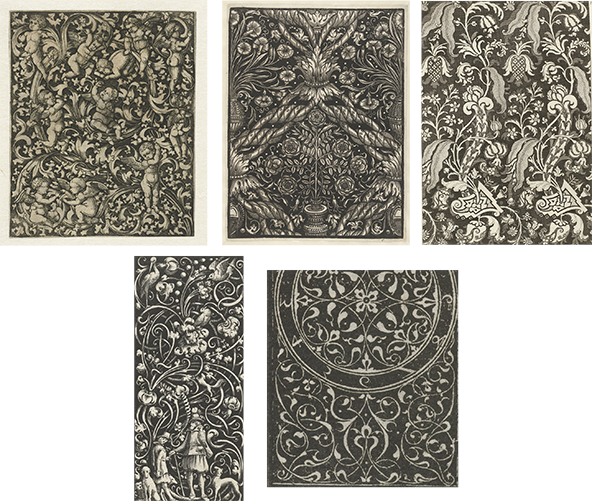
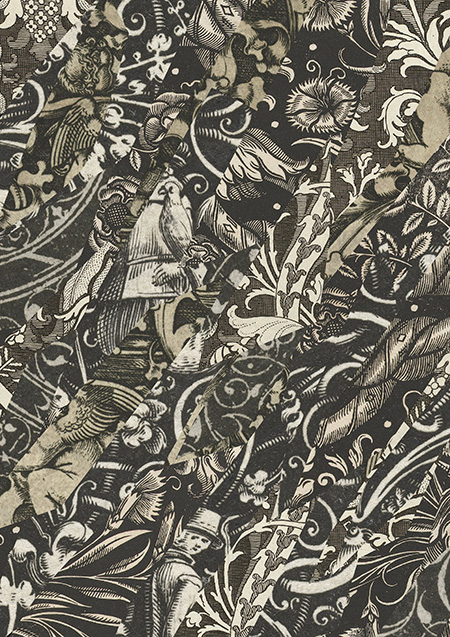
The images you use to chop and arrange will depend on your personal tastes and choices for the project. For the example piece I used a number of illustrated patterns from the Rijksmuseum collection:
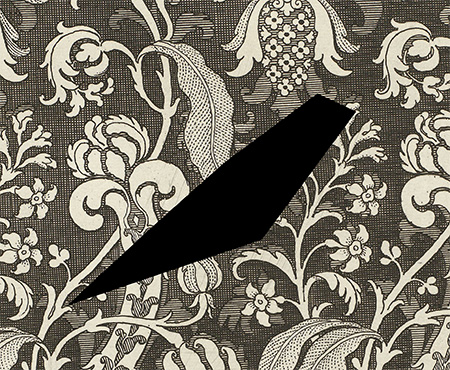
Use either the Pen Tool (P) or the Polygonal Lasso Tool (L) to create selections and chop out / copy sections from your background stocks. To create a selection with the Pen Tool, draw a path and close it off, right click on the path and select ‘Make Selection’.
For the example, I ‘cut’ (Edit > Cut), so the elements wouldn’t be repeated, and the collage would be more realistic, like so:
Paste and position each element in place within your work file, you can rotate / transform quickly if needs be using the shortcut Cmd/Ctrl + T. Take sections from your different stocks and build up incrementally:

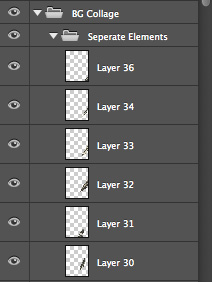
There will be LOTS of layers for this stage, so it’s essential that you use a Layer Group to contain them all (Cmd/Ctrl + G). This will clean up your layer stack considerably, and save lots of grief later down the line:
Here’s how the base layer is looking so far for the example piece. Remember, this is just a guide – don’t be afraid to go wild!!
Focal Element
You’ll probably want to have a focal ‘point of interest’ for your composite, which could be an object or a figurative element.
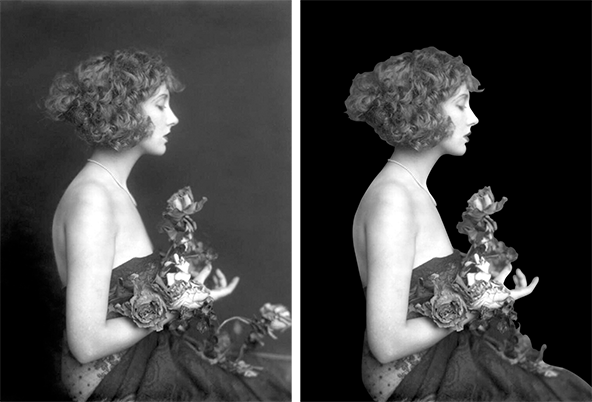
For the example I chose the image Ziegfeld Star 1, uploaded by VintageDREAM-Stock (DeviantArt) – the image was cut out using the Pen Tool, and positioned within the work file. You can use the Polygonal Lasso (L) for this step, as it would mimic the straight cut of scizzors. I however love the versatility of the Pen Tool, here’s a video explanation if you’re not familiar:
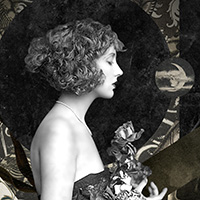
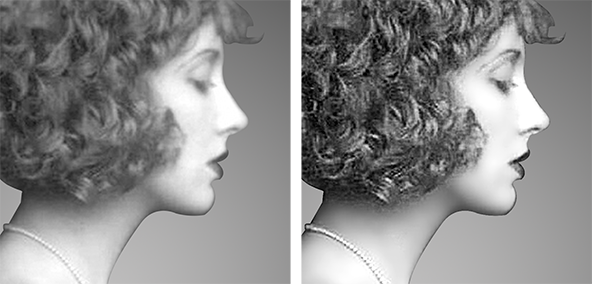
The starlet before and after she is chopped:
Within the work file:
Working with vintage images, the files can often be be low res or pixellated. You may want to undertake some basic Retouch techniques – for the example I added a bit of Surface Blur (Filter > Blur > Surface Blur) to the skin, used Levels (Image > Adjustments > Levels) and sharpened up a bit afterward.
Useful tuts on these topics:
Core Skills: Photoshop Levels [HD] Video Tutorial >> Introducing the Levels command in Adobe Photoshop and it’s uses for photo manipulation.
Photoshop Beauty Retouch for Beginners (Level: Intermediate) >> Learn top tier retouch techniques using Layer Masks in this informative walkthrough.
Cinematic Sharpening – Photoshop Video Tutorial (Level: Beginner) >> Discover how to finish off your Photomanipulation work with Cinematic flair, in this simple video walkthrough
Before and after these minor tweaks:
Framing Elements
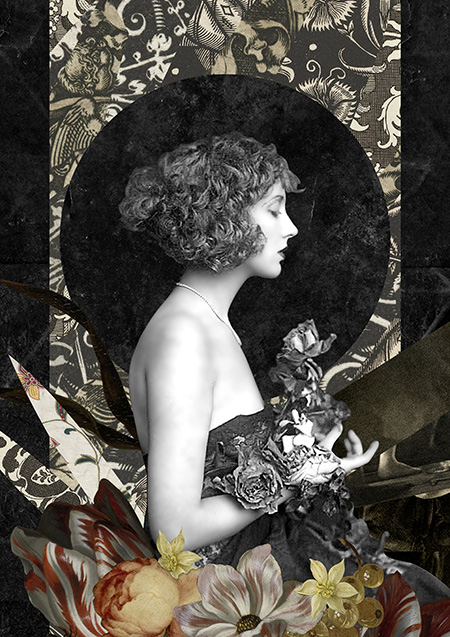
Because the base collage is so ‘busy’, the focal element was getting lost – so I decided to add some drama by bringing in some framing elements.
To start basic shapes were drawn in black, using the Eliptical and Rectangular Shape Tools (U) on a new layer. Tip: To create a perfect ellipse, hold down Shift whilst dragging out.
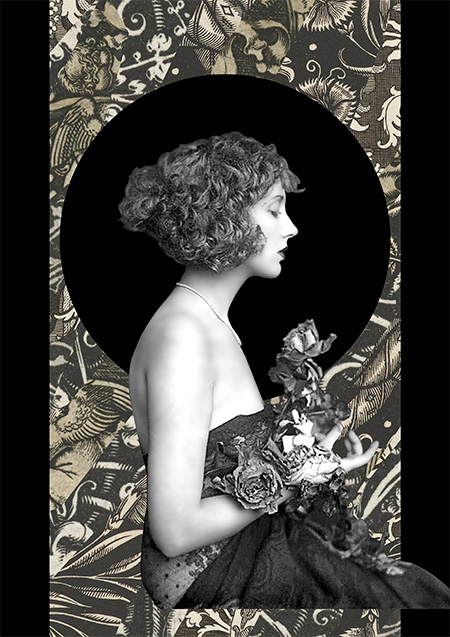
The shapes act as a ‘mask’, for pasting other textures in. A selection was created based on the shapes layer, this is achieved by holding Cmd/Ctrl and clicking the layer icon – this will create a selection like so:

With that selection active, you can open up textures – copy them, and then paste ‘inside’ the selection.

I used two really great dark grunge textures from the Lost & Taken texture site:

The textures pasted within the selections – when you do this, it automatically creates a Layer Mask for the layer:
Foreground Elements
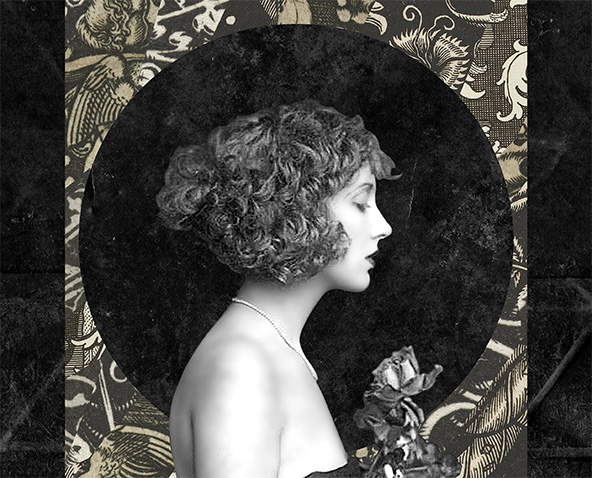
You can add variation and spice to your collage, by cutting out additional elements and positioning them in place. For the example, a number of flowers from still life paintings (Rijksmuseum) were chopped and positioned within the work file.
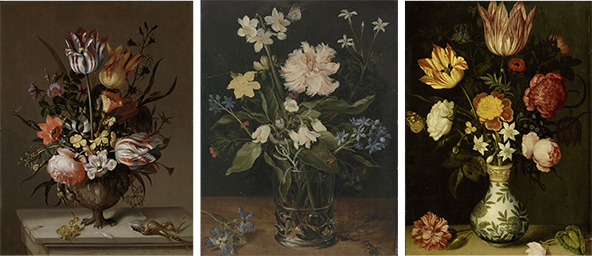
Using the Pen Tool, seperate flower elements were cut out and positioned within the composite:
..and more strips to add extra flourishes, much like the collage base layer:
Because I’m a moody old soul, I blasted mine with Gradient Map Adjustment Layer – to make the overall work a stark Black and White. Nope, this step isn’t essential at all!!
Lovely effect eh?
Best of luck with your project!!
Review
If you haven’t already, be sure to give us a ‘Like’ at our new(ish) Facebook page >> SurrealPSD FB – appreciate the support!!
Did you know our full Photo Manipulation course has been unleashed into the wild? Be sure to check it out: Art System Photoshop
Conzz ![]()
Follow on Twitter: @Conzpiracy
Great tutorial. Never tried a collage before and, to be honest I am not quite attracted to that type of art, but I might give it a try someday.
I do have a question tough, I couldn’t find the answer on their websites, the images of Rijksmuseum and The British Library are royalty free? Meaning I can use their images freely? Really?
Appreciate the kind words. Yup, British Library 100% public use, as well as the Rijkmuseum.
[...] Cliccate QUI per il tutorial! [...]
Amazing Tut. Thanks a lot.
http://pashtorung.com
Love the vintage look. Might try my hand at one sometime!