Raw Deal Project (Part 2)
 At this stage of the process I hunt down stock resources to use in my photo manipulation. There are times that I find a stock image that fits perfectly and steers the direction of the concept; there are occasions however when it can take considerably longer to find an image that is ‘just right‘. Persevering to seek out the right image is a big part of photo manipulation, check out the Selecting Stock article for more info.
Setting Up
To kickstart proceedings, I created a new Photoshop document at A3 size, allowing me to print the image if it turns out to be any good!
Focal Point
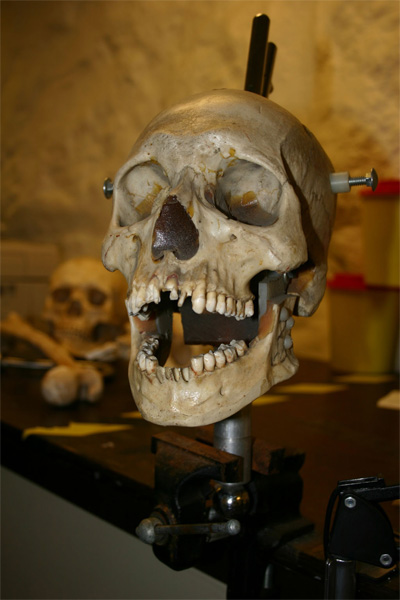
I was digging around in some of my old stock archives and came across a pretty nifty skull pic that I’d never used. The image is from the now defunct stock site darkart.de, and is an awesome capture. The quality isn’t as high as I’d normally like – but I think the expression is manic and fits the Raw Deal universe perfectly.

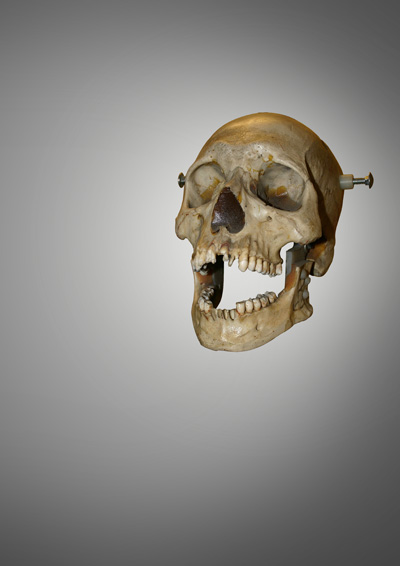
I cut the skull out using the Pen Tool (P) and brought it into my new document. A quick background was put together just to flesh the scene out a bit and start to get a feel for the potential lighting. Heres our screaming skull against the new background:

Tubes. Bloody Tubes!!
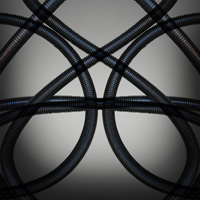
Corrugated tubes are awesome, I love em’. As popularised by Giger, the ribbed tube is an icon of biomech art and is a visual style I haven’t visited in a while. These types of tubes are notoriously difficult to find online, but one day I managed to find piles of them outside a derelict electricians shop – so I kept a load. I got a mate to take some snaps of them for future manipulations.
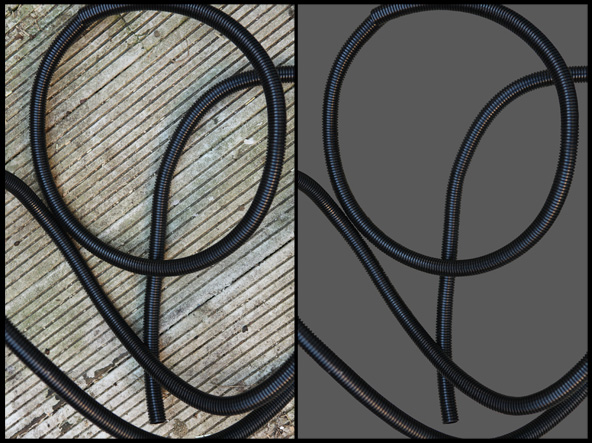
Ive stressed before that sometimes the road to creating great art is long and arduous, and in this case it’s definitely true. To use these tubes in Raw Deal, I’d have to cut out every single ridge of the tubes using the trusty Pen Tool in order to remove the background. This process took a LONG time! Heres the stock image before and after:

Rest Time
Cutting out those pesky tubes exhausted me mentally, so Im going to take a step back from the project for a bit.. These things do tend to happen and a short break can provide you with renewed vigour to proceed with your photo manipulation. On the bright side, I have those tubes cut out which can be used in future work so I think the effort was worth it.
Im not sure what the next step will be, but whatever direction it takes – I’ll be sure to keep you posted. Keep your eyes peeled for part 3, and feel free to share your thoughts on the creative process below.
Conzz ![]()
Follow on Twitter >> @Conzpiracy
Man, I hate cutting stuff out, but it’s necessary:) Quick question, what dimension is A3 in inches or cm?
I just uploaded an article outlining A Size dimensions, hope you find it useful mate