Raw Deal Project (Part 3)
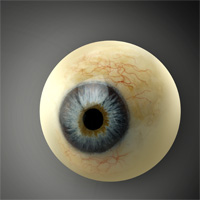 With renewed vigour, I’ll be having another crack at the Raw Deal III piece today. Hopefully I’ll be able to get a fair bit of the scenery done to flesh out the environment, but as we all know – anything can happen! I find that once a piece finds it’s voice, the creative process becomes more efficient and seems to run on autopilot. At least I won’t be spending two hours cutting out tubes! Read on for the skinny
 ![]()
Eyeballs
In the prior two Raw Deal pieces, eyeballs were a prominent feature – so I’d like to incorporate them in this edition. I had a poke around on DeviantArt stock to try and locate an eyeball that was facing the same way as the skull – giving the elements a sense of direction. Unfortunately most of the eyes were facing straight on or were still in peoples heads; so I needed a work-around.
I found this bad boy which is at the right angle, and a PNG which is also helpful on occasion. As it’s a fake eye and not a full ‘ball’ I’d have to tweak it to suit my requirements. Eye transparent PNG by AbsurdWordPreferred (DeviantArt).
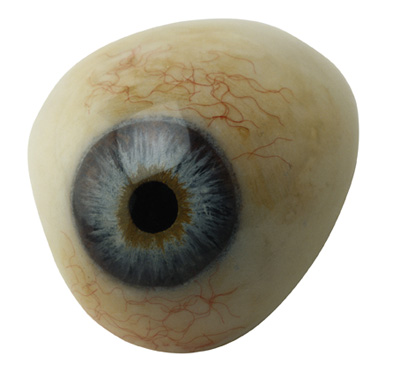
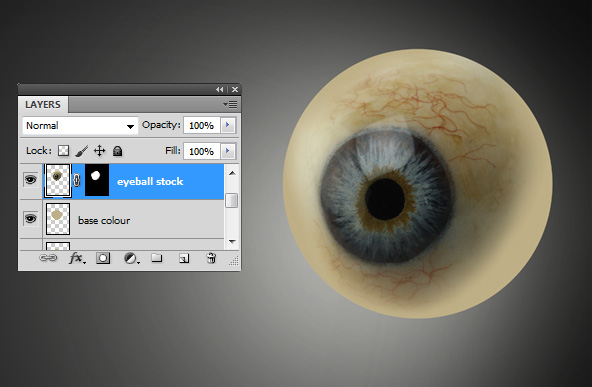
To get the ‘ball’ rolling so to speak, I sampled a neutral colour from the top right of the eyeball using the Eyedropper Tool (I) and created a circle with the Ellipse tool (U) on a new layer directly below, using the sampled colour. I added a Layer Mask (mask icon, bottom of layers palette) to the ‘eyeball’ stock image, and painted away the edges with a black soft edged brush (B), using various brush sizes.
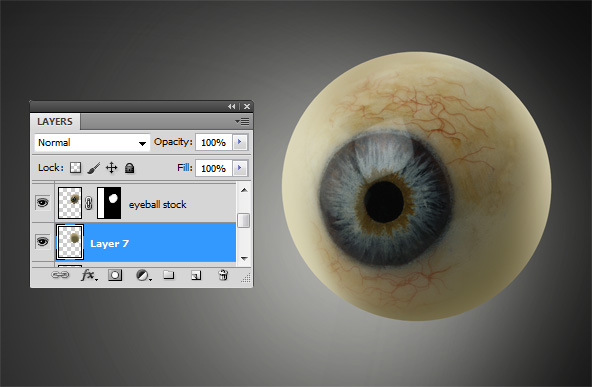
It’s starting to look ok, but not quite there yet.. For the next step I used the Eyedropper Tool (I) again to sample a light shade from the far left of the eyeball stock image. I created a selection of the base colour layer (Ctrl / Cmd + Click layer), and used the sampled light shade to paint directly onto it (using soft-edged brush, B) – creating an illusion of a spherical shape. I also sampled darker tones from the bottom-right of the eyeball stock and continued to paint in bits on the base layer so the colours ‘merge’ with the stock above.
Looking kool, but a little dull for my tastes. Im going to throw a Levels Adjustment Layer above the eyeball stock and the base colour to punch out the whites a bit. I created a selection of the base colour layer (Ctrl / Cmd + click layer) and put the Levels Adjustment above the eyeball stock layer (click black and white ball icon for Layer Adjustments). I tweaked the Levels until satisfied.
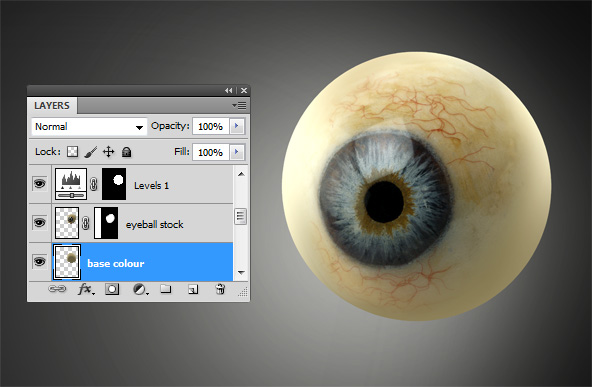
To finish up I selected all the layers that make up the completed eyeball (Shift + click on layers) and merged them using Ctrl / Cmd + E – naming the merged layer ‘eyeball’ to keep things tidy. The eye isn’t 100% there, but I can always tweak it later, plus Im itching to work on another element!
The ‘Misc’ Folder
When I cut out stock images or create new elements in Photoshop, I always put a copy to one side in what I call a ‘misc’ folder. Very simply, it is just a layer group (folder icon, bottom of layers palette) with copies of all the elements I have used. If something goes hideously wrong, as opposed to undoing the actions in history, I simply grab a copy of the element from the misc folder and start again. Also, you can collapse the folder, so it keeps the layer stack streamlined and tidy.
Little tricks like this can optimise workflow immensely and be major time-savers when things go awry (which can happen all too often do in Photoshop!).
Some more Cutting..
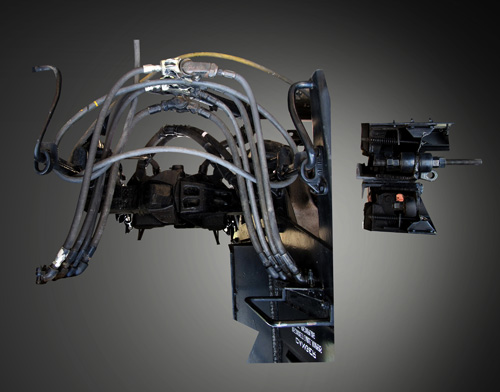
I want a ‘dirty-mech’ look, so old train parts are ideal for this type of work. I grabbed some stocks from deathofsphinx over at DeviantArt, and spent the rest of the session cutting stuff out using the trusty Pen Tool (P). Even though these elements were meticulously seperated from their backgrounds, theres no guarantee that they’ll be used in the final piece. This comes into play quite often with the ‘trial and error’ nature of the creative process in photo manipulation.
Next Installment
That’s enough for me today, got a fair few bits done. In the next installment I’d like to start grappling with the larger background elements, steering the direction of the piece.
Stay tuned!! Conzz ![]()
Follow on Twitter >> @Conzpiracy
Find Us On: